After finding the different fonts, I decided to try and the glitch effect on to it. In order to do this, I search on glitch effect tutorial on youtube and try to learn it as i go.
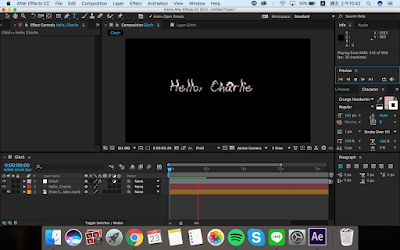 The video uses his logo but I decided to use the phrase " Hello Charlie" as it relates to what I'll be doing (imaginary friend). All the resources used in the making is all link in the description of the video.
 You then create an "Adjustment layer" and then add the effect "Displacement map" and select the glitch video which will effect the actual video.
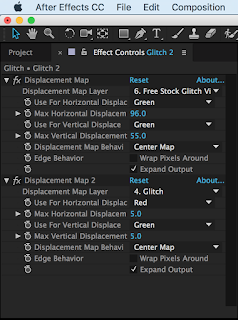 Next step to create the moving action, you replicate the glitch effect and spread it throughout then change the max horizontal displacement value and the max vertical displacement value. Make sure to make it random.
 After createing a new layer call newell object name it "Split" then apply the effect slider control and then lock the layer.
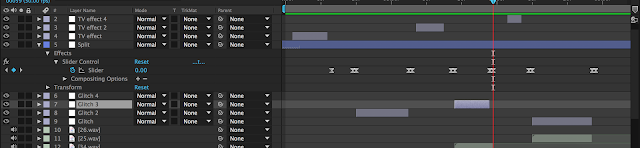
 Then create a new adjustment layer (name it TV effect) and apply the effect bad TV 3 -weak. Then open up the pen tool create a selection of the mask. Again create small section then replicate and spread it out (keep random).
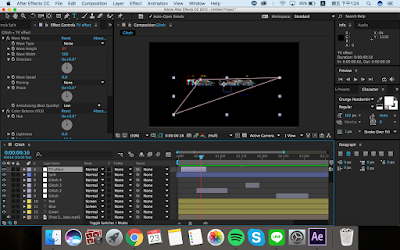
The video that I looked at is the following video. The whole video is 15mins but it took me awhile to follow as I was just introduced to using After effect.
OUT COME...
STEPS....
 The video uses his logo but I decided to use the phrase " Hello Charlie" as it relates to what I'll be doing (imaginary friend). All the resources used in the making is all link in the description of the video.
After creating the composition settings, the first step is to import the glitch video and then create the layer Hello Charlie.
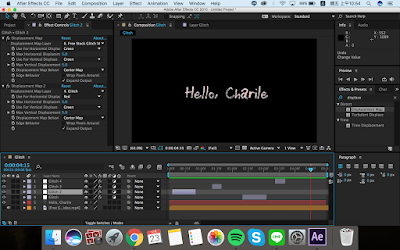
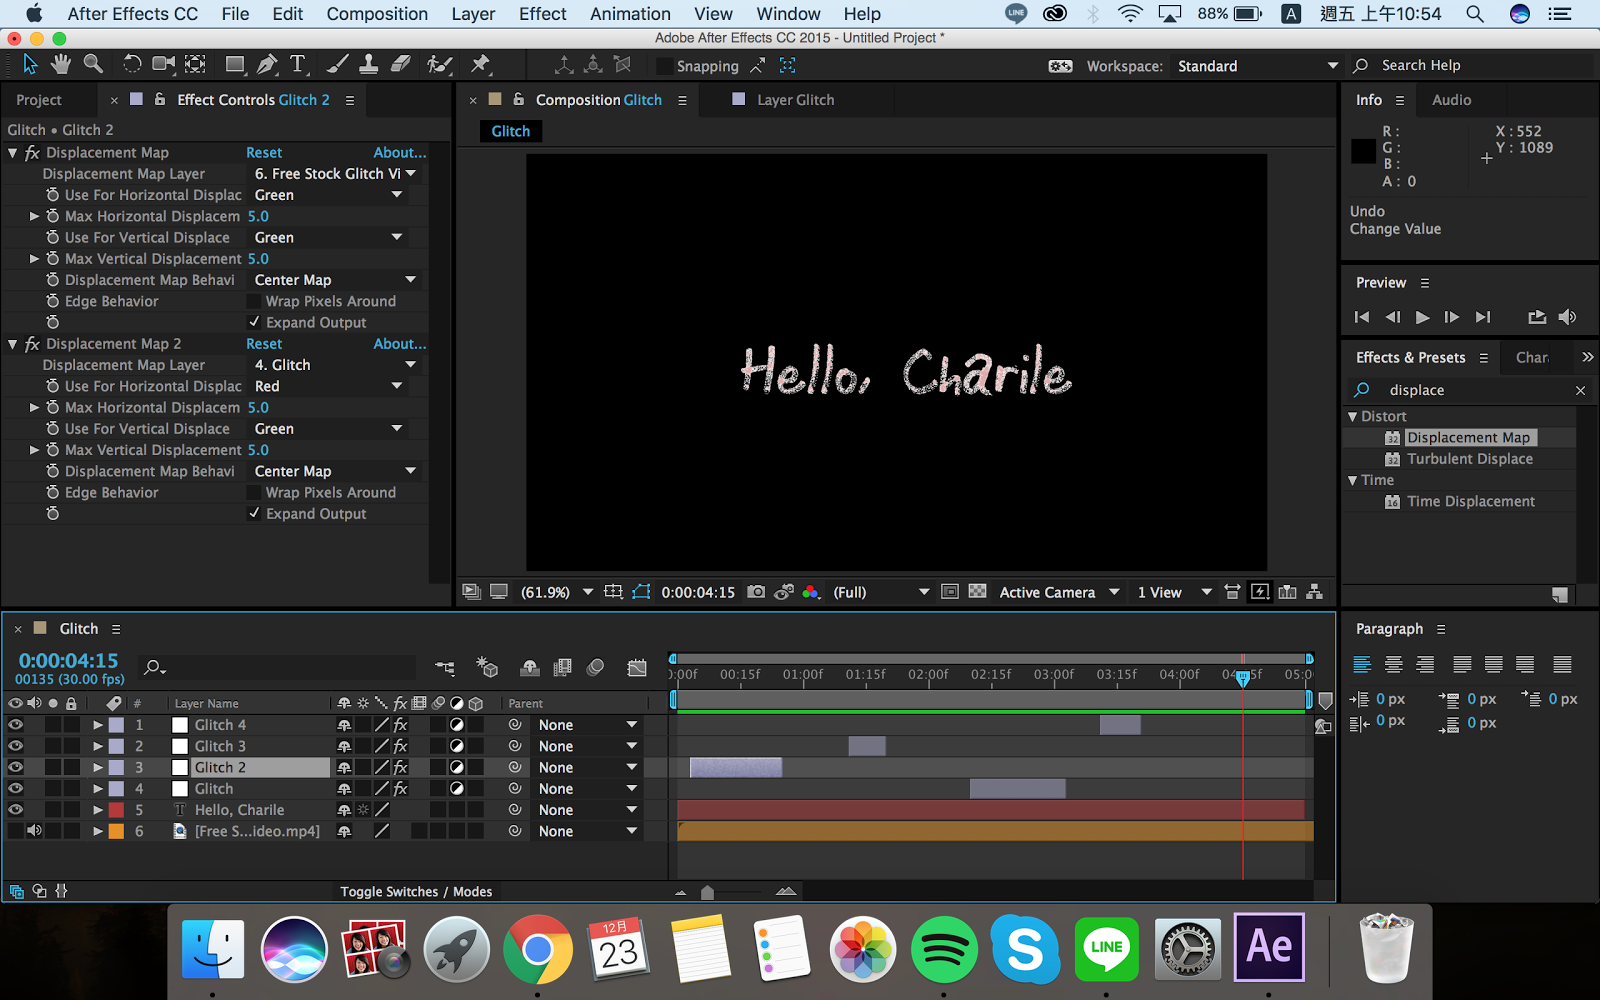 You then create an "Adjustment layer" and then add the effect "Displacement map" and select the glitch video which will effect the actual video.
 Next step to create the moving action, you replicate the glitch effect and spread it throughout then change the max horizontal displacement value and the max vertical displacement value. Make sure to make it random.
 After createing a new layer call newell object name it "Split" then apply the effect slider control and then lock the layer.

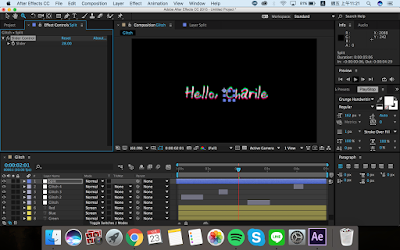
Now we need to work out the show of the three different colours, RED, GREEN AND BLUE. In order to do this, you replicate the font layer 3times. To change the colour you apply the effect levels(individual colour control) to all three layers, then don't make changes to the colour your want and turn the colour output white from 255 to 0 for the other two colours. Also, change the mode of red and blue to screen.
Then open position for the red layer and clip the stop watch while holding the "alt option" on the keyboard. Which will open up the expression position then type in wiggle(10, and then drag the spiral looking icon to the split layer and close it with another parenthesis.
Then change the value on the slider effect, this will create the split of the RGB colours.

Now we have to create keyframes. Create a keyframe just one keyframe before the glitch effect ( value 0 ) follow by another keyframe in line with the glitch ( value 20). Do this to the start and end to all effects. This is to create the shifting of the RGB colours. To smooth down the effect right click and go to key frame assistance and change to easy ease.
 Then create a new adjustment layer (name it TV effect) and apply the effect bad TV 3 -weak. Then open up the pen tool create a selection of the mask. Again create small section then replicate and spread it out (keep random).
ADD AUDIO TRACK AND FINISH.
No comments:
Post a Comment